|
|
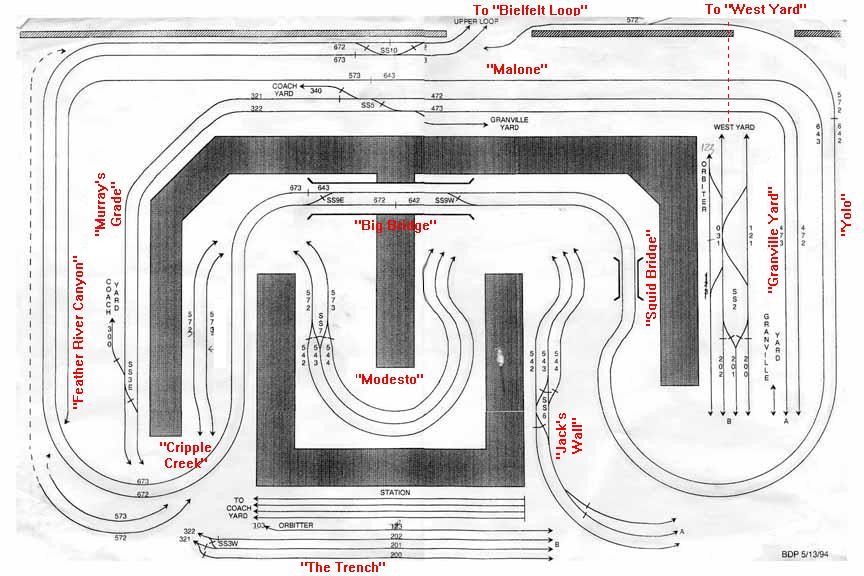
Numbers to lower left of pictures indicate location of picture on the layout map. |
3 4  |
We begin our tour in West Yard, heading Eastbound. To the left in the photo is our
workbench, where most of the layout work gets done. Towards the back in this photo
is a turntable, pictured to the left below. West Yard has 2 passing sidings and 6 stub-end
storage tracks. The yard is controlled from what we call "The Coffin," a coffin-shaped
cutout in the center of the turnaround tracks. A black panel on the wall
controls all the switch machines and can also function as a Christmas tree when the
lights are off. Seen leaving now is a UP SD40 trio beginning its trek up mainline to
eventually reach the upper loop (Barely visible in this photo... You can see the L-brackets
which hold it up). |
| As we begin the ascent up the grade, the train first becomes visible as it enters "The Trench," a long straight run backed by a high concrete wall. At this point, the train is passing directly below Austin Station, which will be featured later on the tour. If you were visiting the layout, the train would be right in front of your nose - it is paralleling the visitor section. See the big layout map or the numbered layout maps, they may help to orient you. | 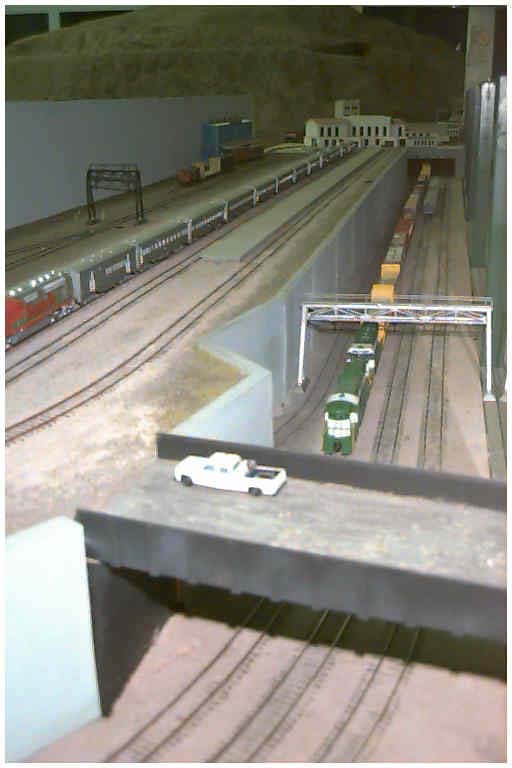 7 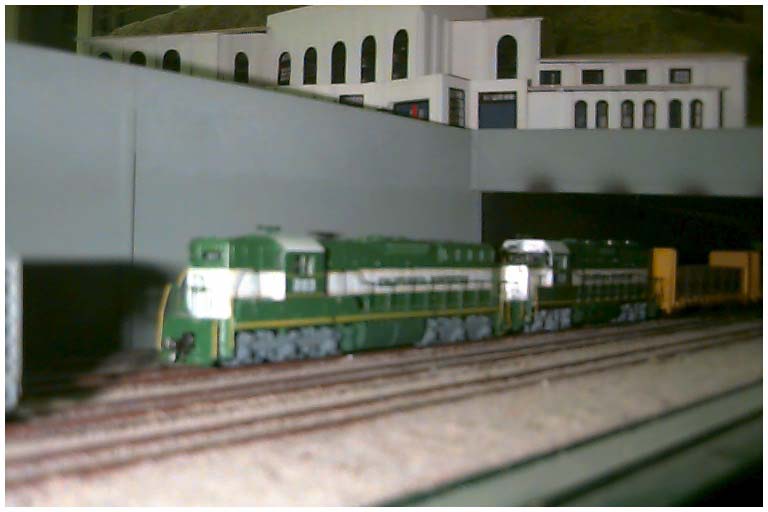 |
8
9  |
As the train leaves the Trench, it again dives into a tunnel, crossing under the throat of Coach Yard, the service facilites for Austin station, and climbing up Murray's Grade. Along the way, it passes by a lighted cement plant. |
| As we actually begin to climb uphill, we approach Granville Yard, an entirely handlaid yard with 4 stub tracks, an engine house, and 4 full-train-length storage tracks. This area was recently sceniced, and looks different than shown in these pictures. Granville Yard is the last major stop along the ascent to Bielfelt Loop, the layout's summit, and the nearest location for obtaining extra motive power. We have yet to reach the steepest grade; once you get there, you'll need every bit of available power to reach the summit. | 10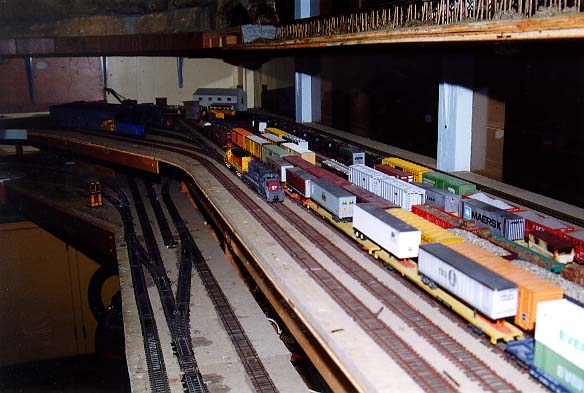 |
11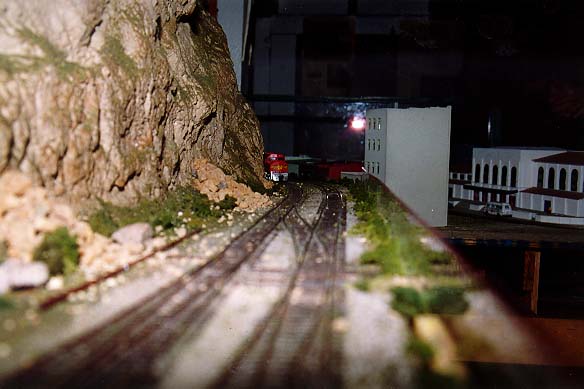 12 
|
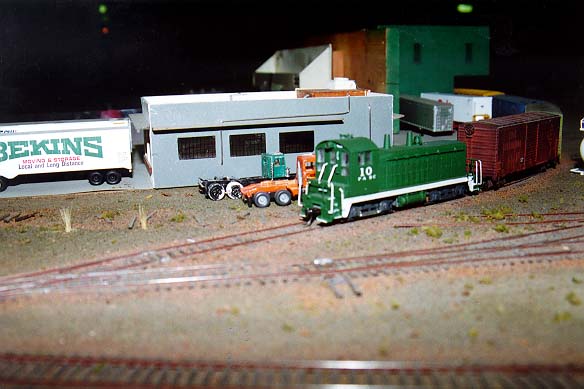
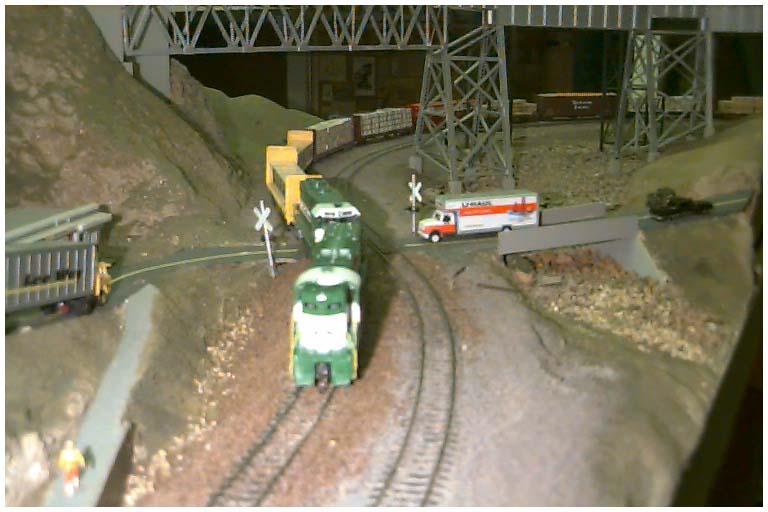
As soon as the train rolls out of Granville, it begins its way uphill once again, and approaches the industrial area of Modesto. Here we see the train's locomotive peeking around the base of Jack's Wall, a sheer 150' high rock cliff topped by the line which we will later travel. The green and white train shown in the lower picture is heading opposite to the direction of the tour. |
Modesto is a light industrial area, with rail service for chemical, cattle, and
trucking industries. The switching area covers most of 'center section' as we
like to call it. There are three diamonds across the mainline to a junkyard,
trailer facility, and a hotel.
14 
|
15
16 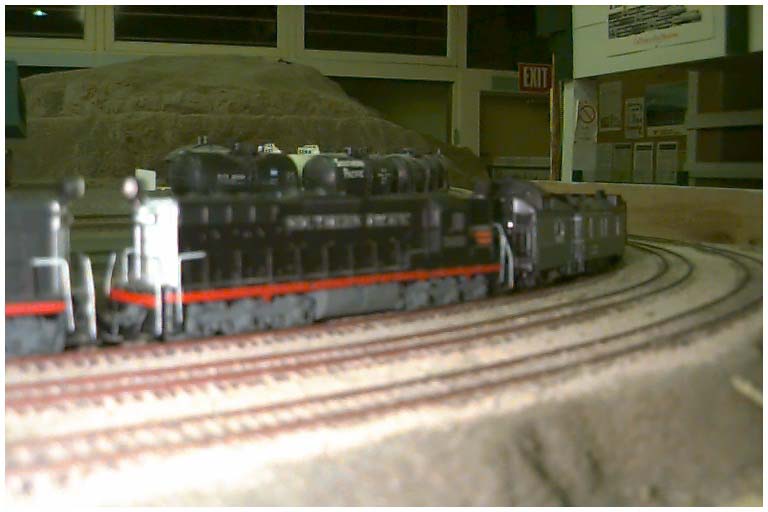 |
17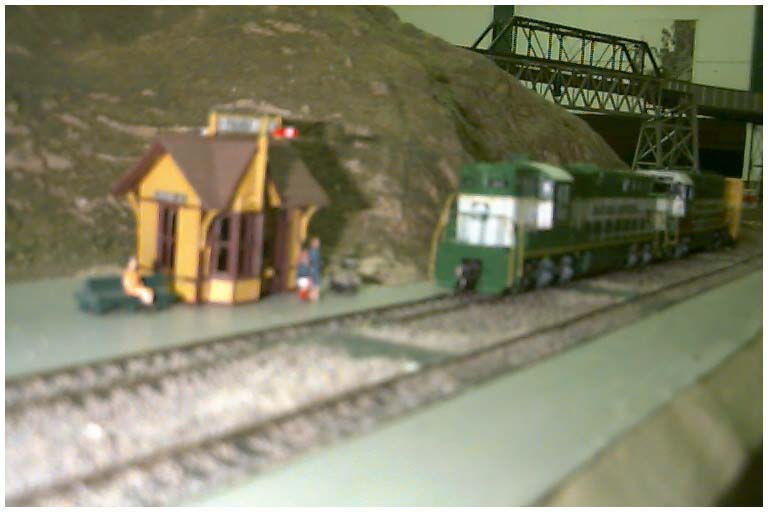 18 
|
We now begin the steepest, and quite possibly the most interesting, grade on the layout. In the picture to the left, the train we're chasing is on the bottom track, traveling under the trestles. The diesel engines roar up the hill past the tiny Cripple Creek station, over the dry Cripple Creek, into a short tunnel, then out along the edge of a cliff. |
| The train emerges from the tunnel into a steep, densly forested region modeled after WP's (now UP's) Feather River line. It follows the edge of a cliff for quite some distance, diving in and out of tunnels, traveling over old rockslides, and traversing bridges. There is no room for error here - the floor is 6 feet below, with nothing in between. |  20 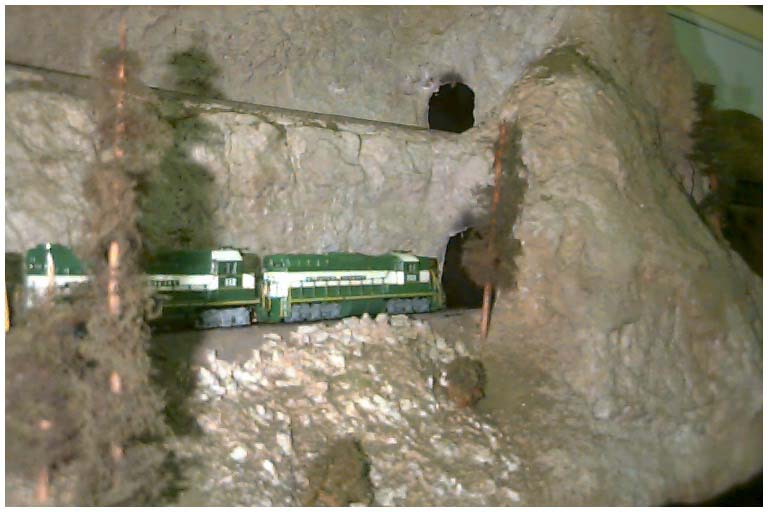 |
21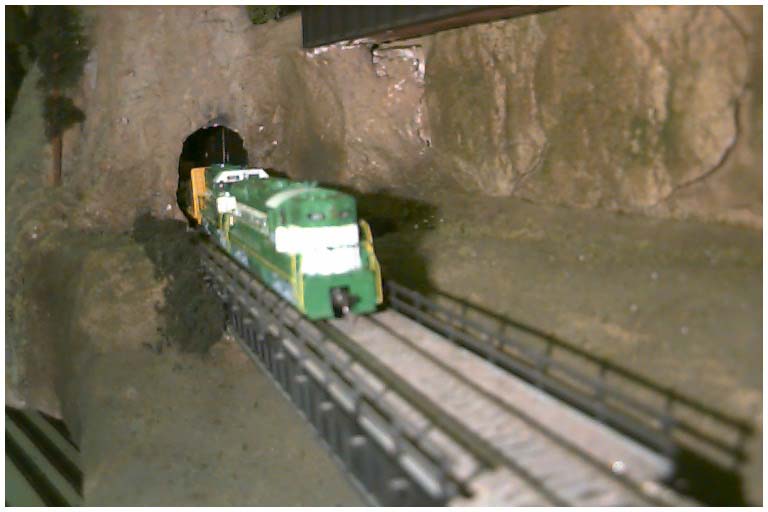 22 
|
Here the train is seen leaving a very short tunnel and directly crossing a
bridge. The tracks take a turn northward, towards the small mining town of
Malone. Malone's only industry is coal, and they produce lots of it. At
almost anytime, a coal train can be seen on the layout, returning to the mine
after having delivered its 50 car load.
 |
| After highballing through Malone, our freight hits the Yolo Causeway, the longest "bridge" on the layout. Built by a long-time member, with hand-laid trackwork, This 20' long scratchbuilt trestle, complete with hand-laid track, spans most of the length of one wall at eye level. At the end, it pulls around a long horseshoe curve, and back into public view at the top of Jack's Wall. | 24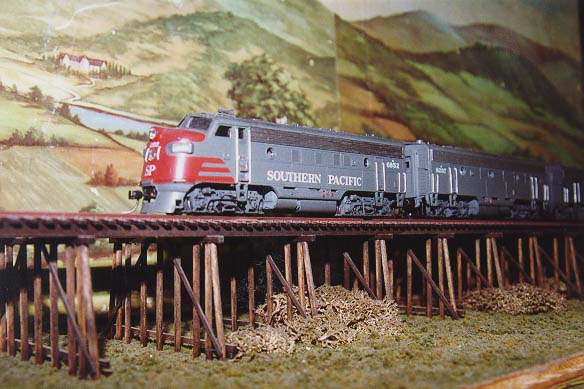 25 
|
26
|
The wooden truss bridge in this picture originally crossed a creek below a snow-capped peak that was removed from the layout years ago. It now serves as a replacement for the original steel trestles of Squid's bridge, spanning a short gap in the countryside where the remains of a giant prehistoric squid were uncovered during the construction of the original bridge. |
| Our train is seen crossing the Eugene A. Doran memorial bridge, usually called the "big bridge" by the members. Inspired by a local freeway bridge, it has a very interesting construction: The I beams are made of aluminum curtain tracks (originally installed in the same room - talk about resourceful!), and the supports are plywood. The bridge is strong enough to support a man standing on it, or superweighted Athearn F units, whichever is heavier! | 27
|
28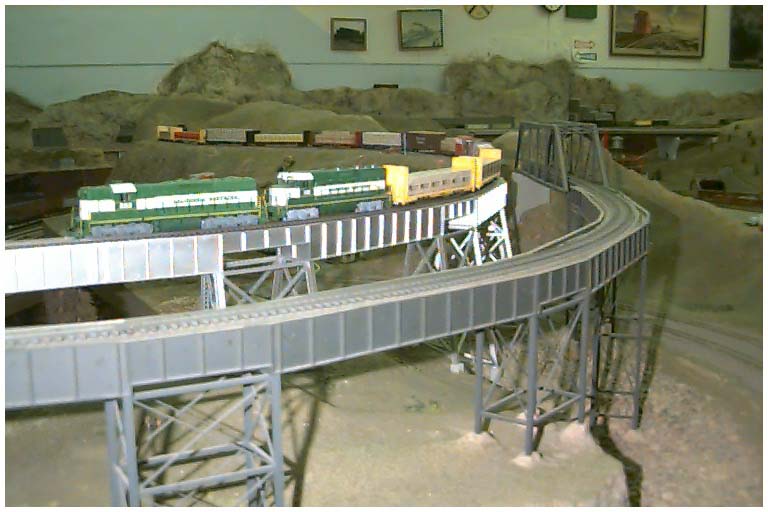 29 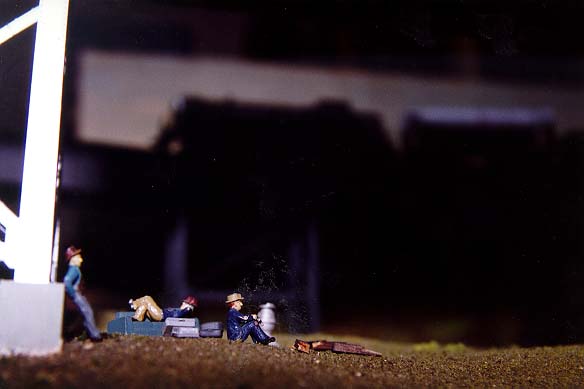
|
The climb is over now. The twin bridges bring us to the summit
of the Palo Alto and South Coast Railroad, although not the end. The
bridges are currently undergoing earthquake retrofitting, and due to
a high volume of freight traffic that needs to get through, one of the
bridges is actually being used without a supporting structure at one end!
Visible below the trestles are the tracks climbing out of Cripple Creek
station.
Hobos often hang out below the trestles, sleeping in rolls of used carpet. |
| We have reached the end of our Eastbound journey. A double-headed SP freight emerges from the last tunnel, headed for Bielfelt Loop, the top level staging/reversing-loop tracks suspended above West Yard in the workroom. Bielfelt Loop consists of two storage tracks and one passing track, all of which loop back around and head back down the layout on the Westbound mainline. | 30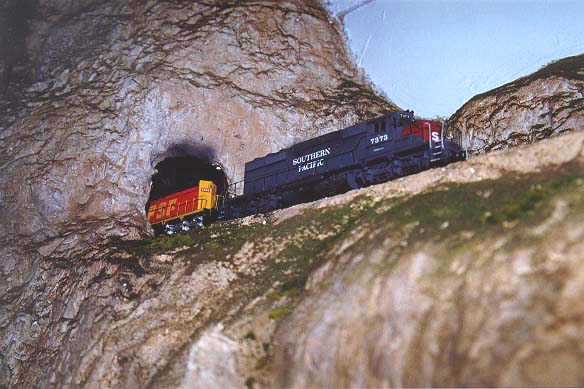
|
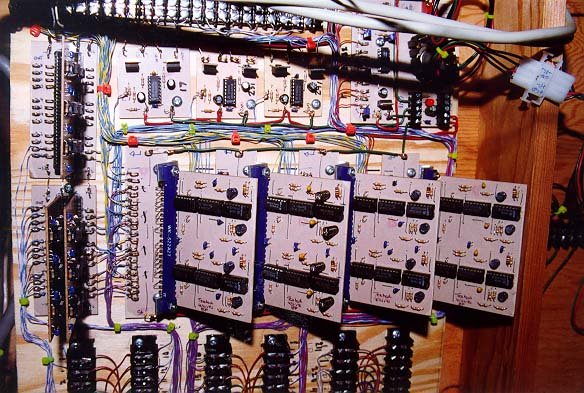 Some PC boards that control the layout. |
 A New section currently being worked on. |
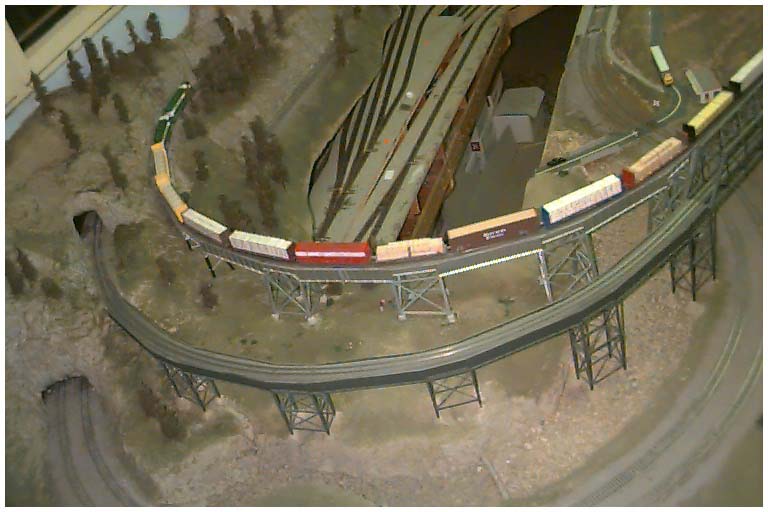 Another aerial view of the layout. |
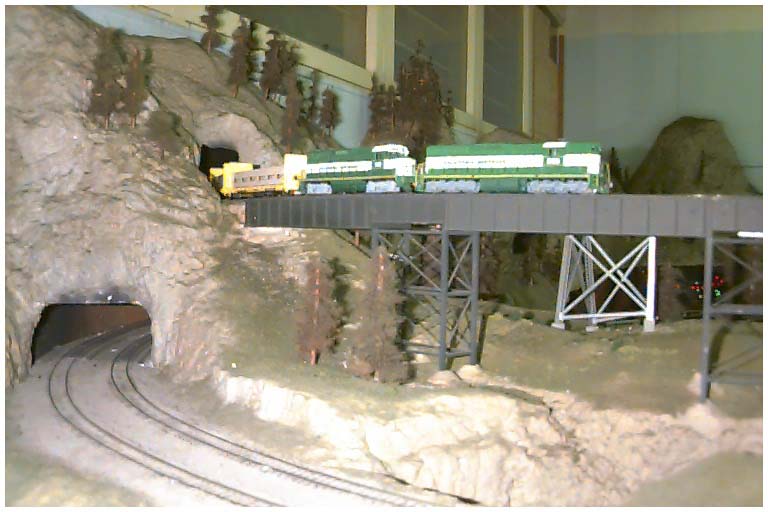 A train heading Wastbound over one of the trestles. |
 A train descends Wastward through upper Chromosome. |
 The same new section pictured above, from a new angle |
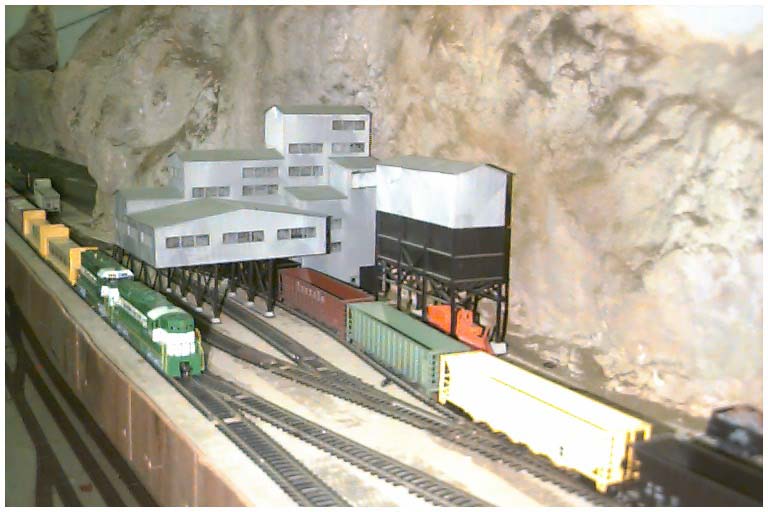
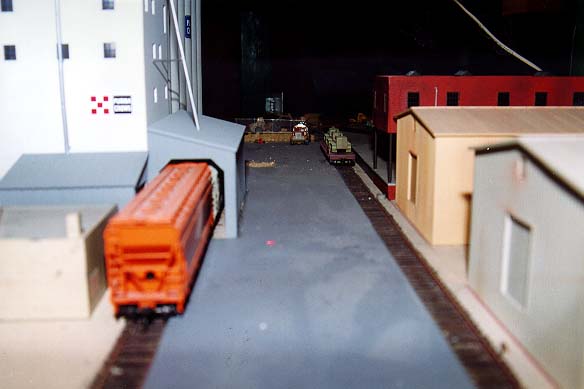
 Grain towers in Herring await a fresh load of empty cars. |
 |
 The West end of Herring. |
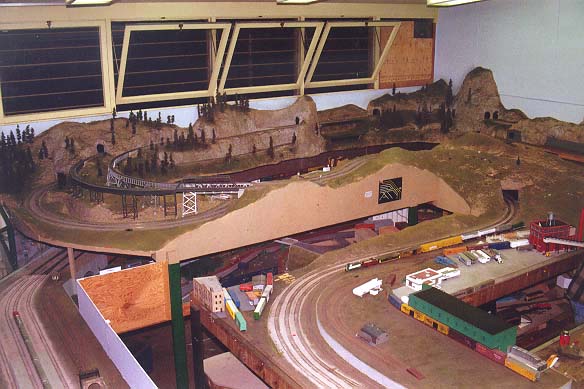
 A busy overpass crosses over an equally busy yard. |
 Same scene, different angle. |
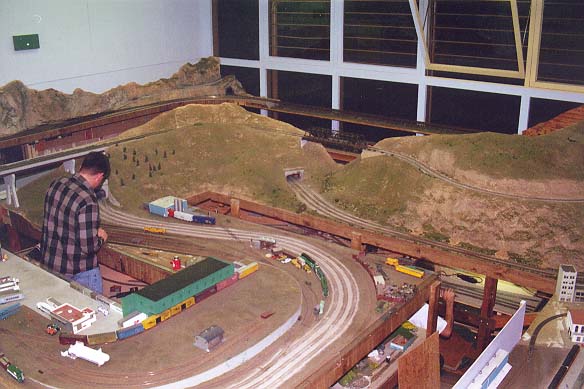
 Our office/workbench, immaculate as usual. |
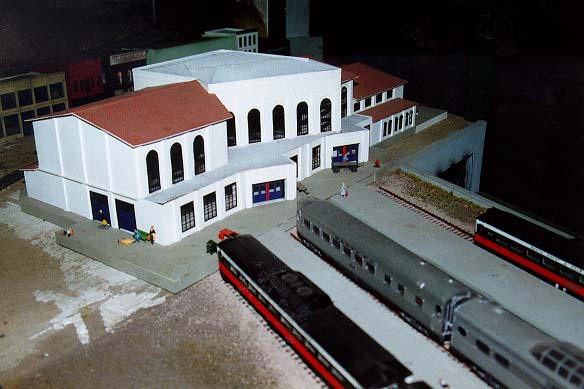 Austin Station, scratchbuilt by a 16 year-old member. |
 Another view of the West Yard turntable and soon-to-be-built roundhouse. |
 Eastern Herring. |
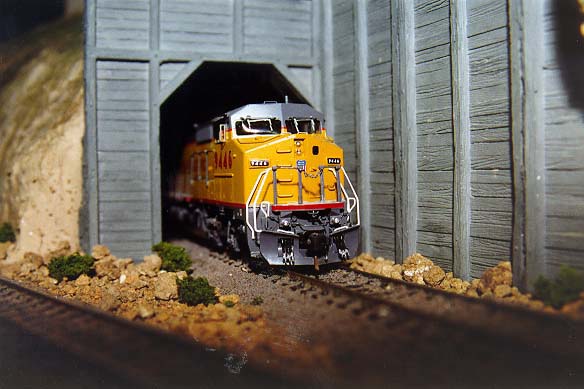 A brass UP Dash-8 40C exits a long tunnel. |
 Yet another shot of Herring. |
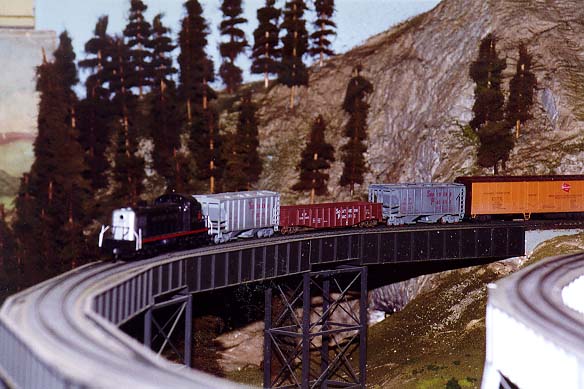 An SP Black Widow GP9 crosses a bridge. |